Patching XIAOMI LYWSD03MMC Temperature and humidity sensor for using with Zigbee protocol
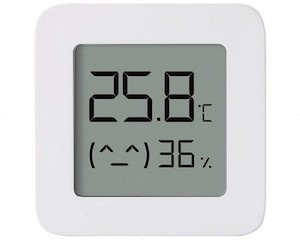
Recently I have heard of the Xiaomi LYWSD03MMC Temperature and humidity sensor which can be patch to work with Zigbee protocol. Out of the box, these Xiaomi sensor uses BLE 4.0 protocol to transmit data. However, somehow a group of home automation guru discovered that, this particular sensor chip also support Zigbee protocol, they developed a firmware for this chipset to enable the Zigbee protocol.
A few days ago, I have also purchased a new Zigbee hub named Yandex Hub supported by Yandex Alisa home automation. In this short post I am going to described the entire process for patching the sensor and uses it with Zigbee hub.
First, a very short description of the Xiaomi LYWSD03MMC sensor. The LYWSD03MMC is a second-generation Xiaomi Thermometer|Humidity sensor. The device is BLE-enabled and (supposedly) works in conjunction with the Mi Home app. However, after successful patch you can conjunction the sensor with any Zigbee Mesh service. The sensor is small and cute with LCD display. Very low power consumption with one year battery life. However, a few users complained that, after switching to the Zigbee protocol, the battery is not lasting long. At the moment of writing the post, the price of the device is about 5$ in Aliexpress.
In fact, the patching process is very straight forward and simple. The firmware and process of patching is describe in the github project.
Here, I am going to flash the firmware over-the-air. Before starting the process, we have to download two files from the release of the project.
Step 1. Download the firmware.
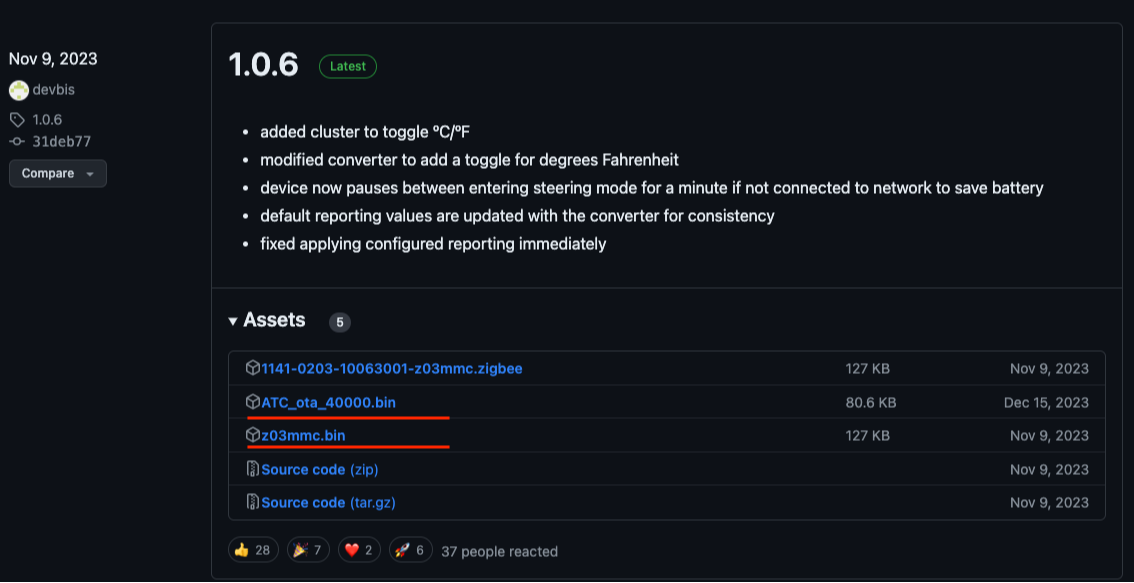
Go to the release section of the project and download the following two files. At these moments, 1.0.6 is the latest release.
Where, ATC_ota_40000.bin is the intermediate firmware and z03mmc.bin is the main firmware.
Step 2. Flash the intermediate firmwares over-the-air from custom ATC firmware.
Open the following link https://devbis.github.io/telink-zigbee/ in browser like Chrome, Opera or Firefox which can support Bluthooth connection. In my case, I am using Chrome.

Web browser will ask your permission for connecting through Bluethooth device. Give the appropriate permission to the browser and the following web page should be opened.

Click the connect button and choose the Xiaomi Sensor from the list and pair with device. After a few seconds with successful connection, the next informations will be displayed on the page.
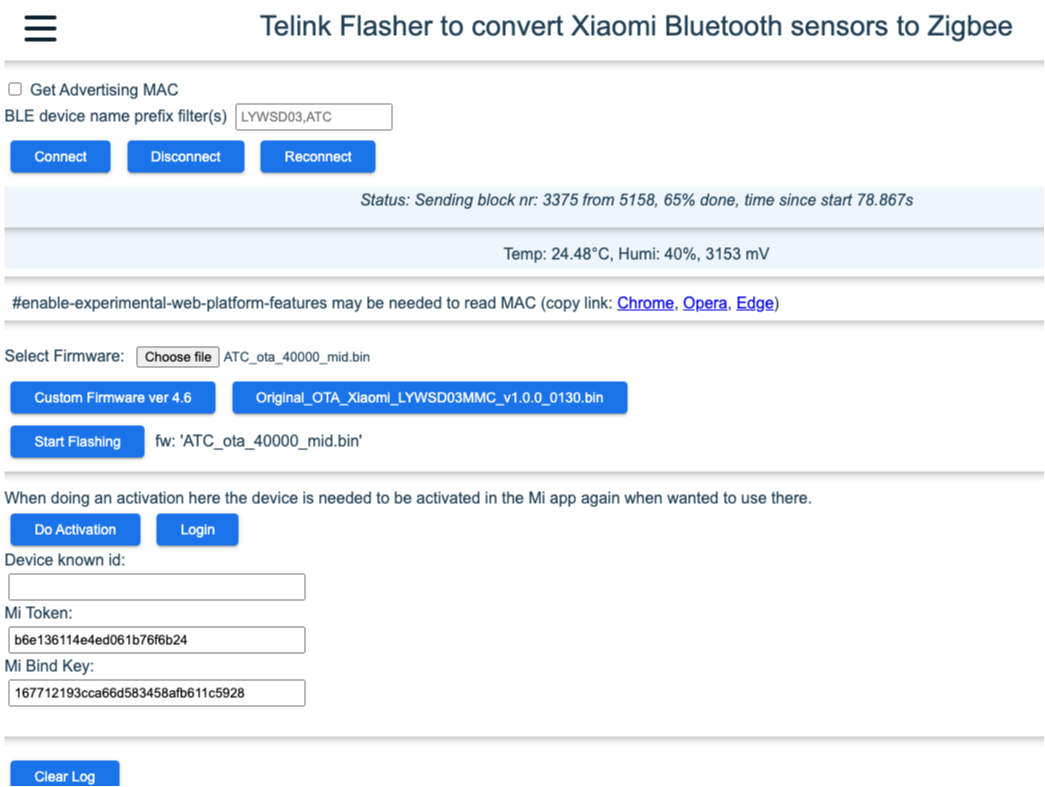
Next, "Select Firmware", choose file with the intermediate firmeware ATC_ota_40000.bin and press the Start flusing button. After a few moments, you will see the message such as "Update done after NN seconds".
Restart the device by replacing the battery.
Refresh the web page and connect with the device again. At this moments, the device name should be ATC_802190 or similar.
Step 3. Flash the main firmware over the intermediate firmeware.
Flash the latest z03mmc.bin firmware over transitional firmware to convert it to Zigbee.
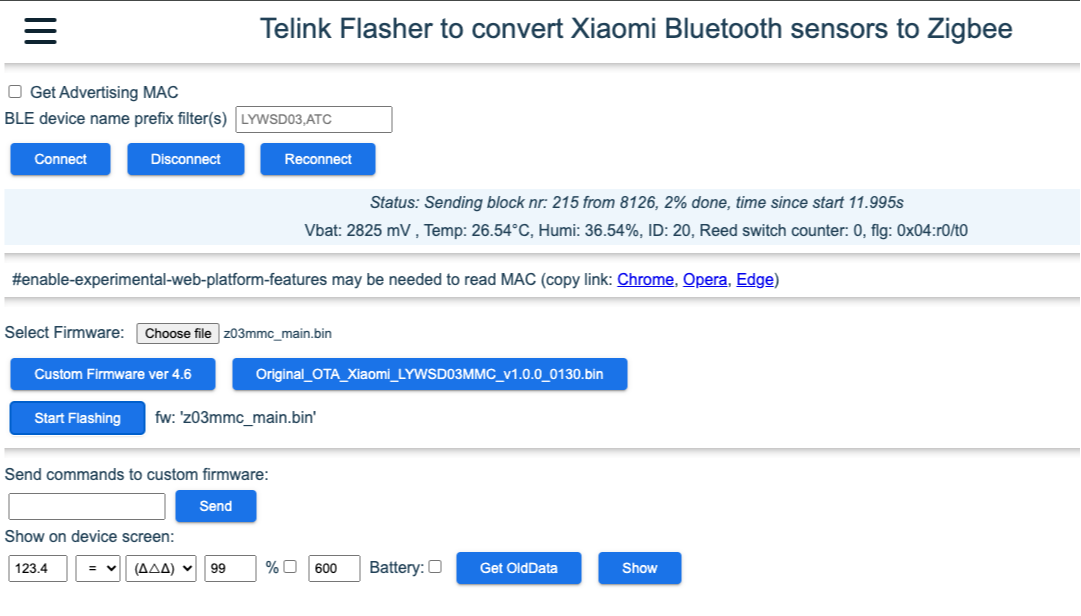
After a while, you should see the successful message. It can take a few minutes to flash and restart, so, be patience.
Step 4. Add the device to your Zigbee bridge or Hub.
The device should now show up in your Zigbee bridge (If joining is enabled, of course). If it doesn't, reinsert the battery and/or short the RESET and GND contacts on the board for 3 seconds.
For Yandex Hub, go to the open up your Yandex Hub section in you mobile App.

Select the "find one device" button. Hub should find and registered the device.
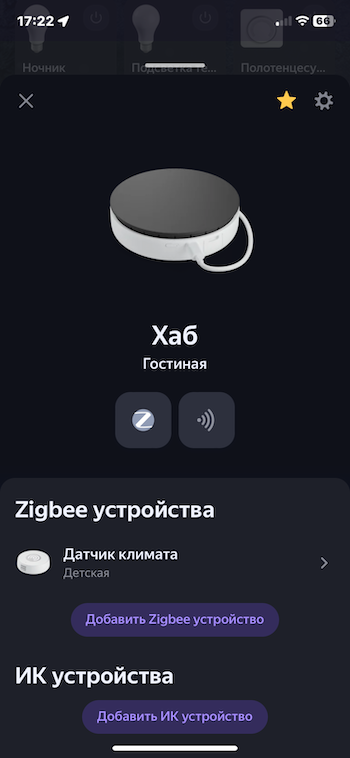
Now, it's ready to use.